
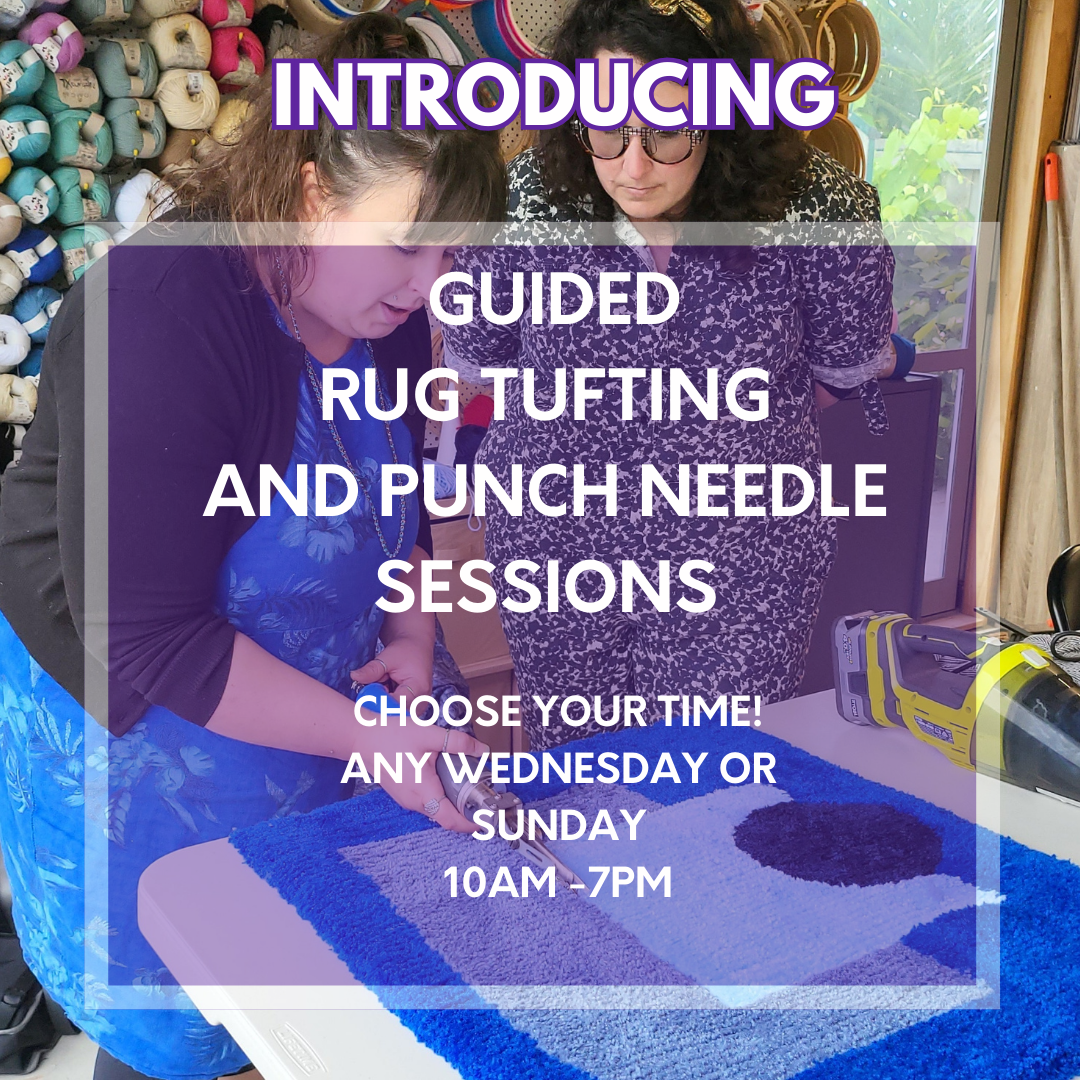

I taught a punch needle embroidery workshop on Sunday and I feel like I learned so much through the process. The students asked so many questions that I hadn’t considered myself.
Punch Needling is a really easy technique to learn, but I think where it gets tricky is knowing what rules you can break to make some of the really awesome stuff we see online.
Here are some things that came up during the workshop:
- Threading the needle. I have found that you can do the threading in one step which saves a bit of time. I put my threader through the eye of the punch needle and then direct it down the hollow channel of the punch needle. Once the yarn is through the threader I just slide it up in one step.
|
|


- If you can’t successfully thread your punch needle, it is likely that you are using thread or yarn that is too bulky for that needle. Also, you want to ensure that once threaded, your yarn can slide in the punch needle without any resistance. Resistance is your enemy in punch needling. It will prevent the loops from staying in the fabric and they will just keep coming out.
- This can also happen if you have too much tension in your yarn. Make sure you always have lots of slack in your yarn as you are moving along your piece.
- Laying your hand or arm on the yarn or thread can also suddenly cause your loops to stop catching.
- However, the beauty of punch needling is; this is not a big deal. If you notice, your loops have stopped catching in the cloth pull the thread or yarn back up through the needle so that you are back to your last good loop and flush with the fabric.
- As you punch, you don’t want to lift your needle above the fabric. Otherwise, again you will pull out your loops or your loops will become uneven. I like to feel the tip slide against the fabric that way I know I’m keeping things nice and even.
- A lot of people say start with the details first and work your way out of your project. This is completely true if you are using a loopy side or working with larger punch needles. If you are not, do not worry about your order. Just fill in what you want when you want to.
- Don’t hesitate to stich finer details like whites of eyes on after you are done punching a project. Many people add beading details as well (This applies more to punch needle embroidery).
- If you are using the loopy side of your project, make sure that your lines are at least two rows; otherwise, you will find that there are not quite enough loops to make that part of your piece visible. Another method is to punch lines with a slightly longer loop then the rest of the piece. It makes things much crisper.
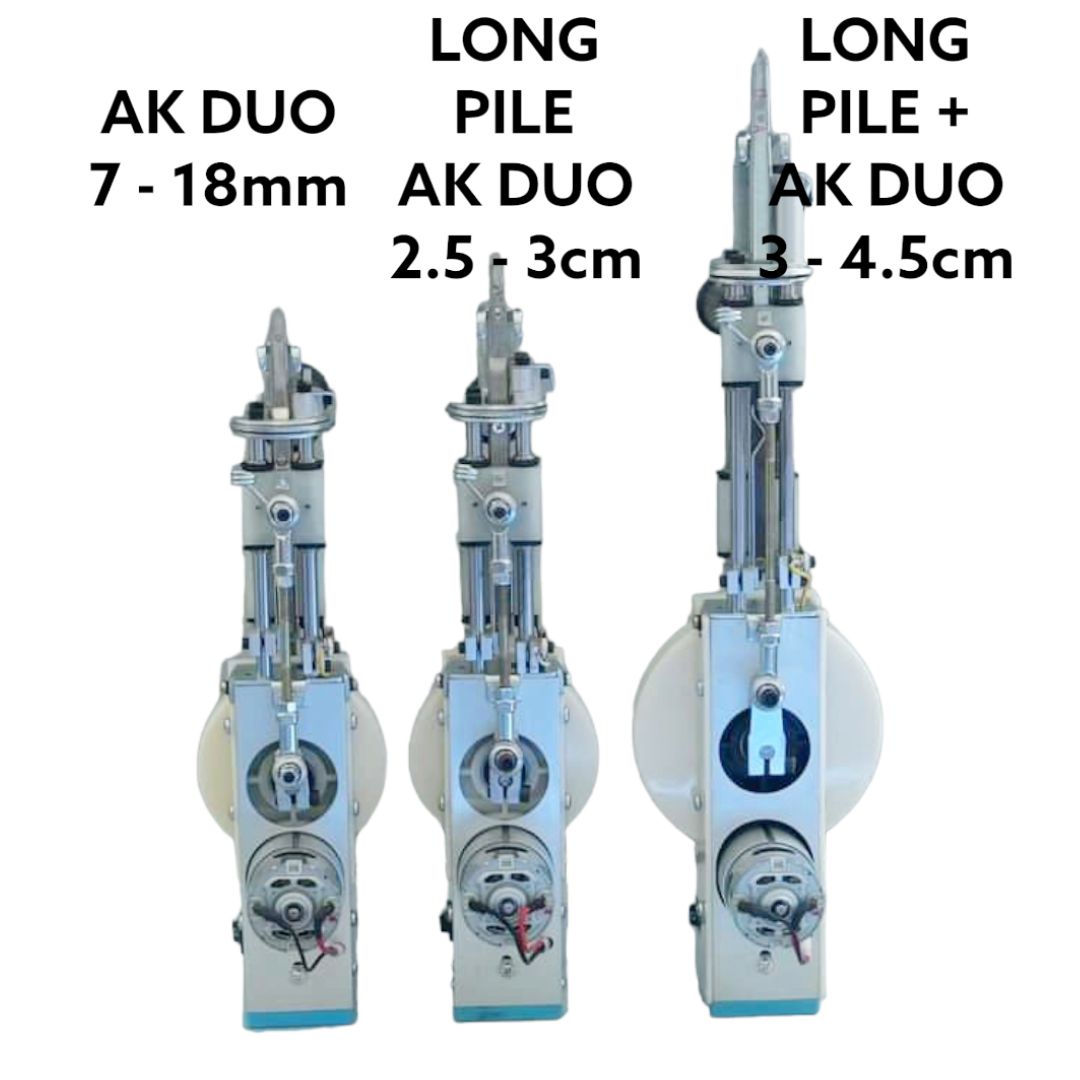
- Amy offers a stitch guide with her boxed needles. This is definitely a helpful way to get started. However, you will find yourself finding your own rhythm in no time and playing around with the lengths of stiches. The stiches inside a shape can be longer than along borders or lines.
- There are two ways to fill shapes. Mostly you will see people work from the outside and spiral in a circular pattern until the area is filled. You can also outline your shape and then stitch back and forth. Which also creates a nice looking pattern if you are not using your loopy side.
- Explore carving and snipping your loops. You can create so many cool textures! My favorite person on Instagram that highlights what you can do with carving is fun.n.rec.
Hope that helps!
Happy Punching!
Carolyn C MSc
EyeFeltForYou & http:punchneedlesuppliesnz.com


Leave a comment (all fields required)